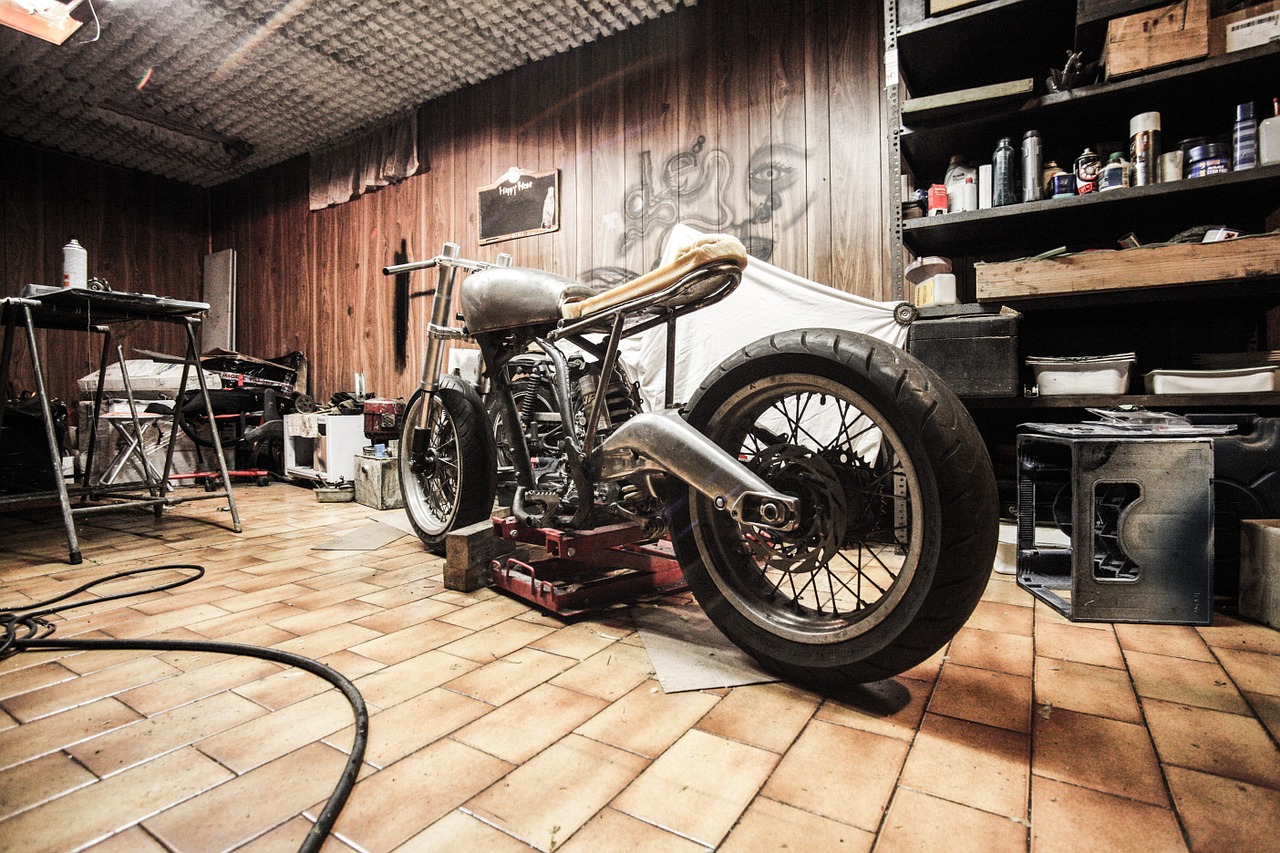
For families and anybody else with too much stuff, the garage is an easy catch-all for the overflow.
It’s easy to stash sports and exercise equipment you no longer use, furniture you want to refinish, outgrown baby items, holiday decorations and more in the garage where they’re out of the way.
Add to that boxes that never got unpacked from the move, tools in every shape and size and bulky lawn and garden equipment, and it’s not hard to understand why you’re parking in the driveway and using the garage for storage.
Organization And Garage Hacks To Save Space
If you’re tired of stumbling over recycling bins, kicking loose soccer balls around the garage and moving dusty boxes around to get at the bottom of a stack, it’s time to organize.
Take back your garage, and maybe even get your cars inside, with this collection of garage hacks that don’t take a lot of time or money.
Easy Corner Shelves for Small Items
For smaller cans and jars that are hard to find when they are mixed in with larger items on other shelves, give them a place of their own with shelves that make use of overlooked corners as a place for storage.
You can use scrap plywood and cut pieces to fit firmly between the studs closest to the corner on each wall. Use one-by-one cleats to support them. Because they’re small, and you’re using them for relatively small, lightweight items, no additional support is needed.
Use Recycle Bin Tracks
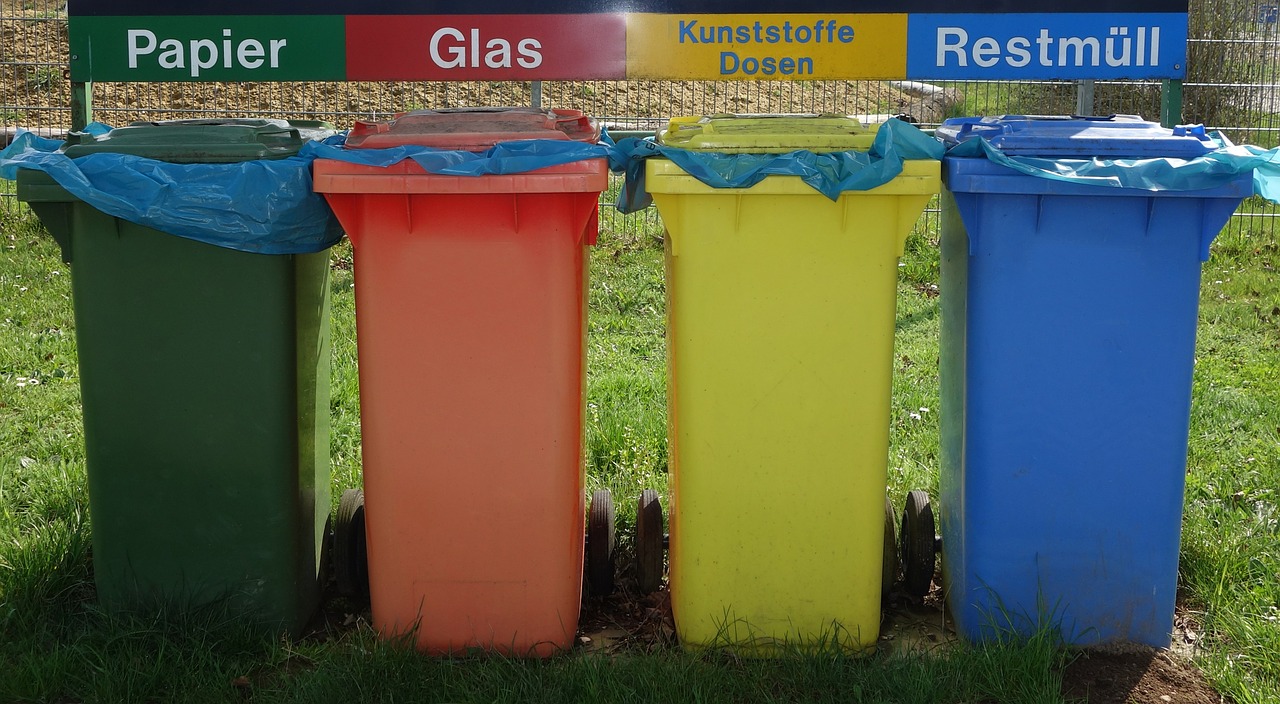
Hang recycling bins in a vertical row and save floor space with this easy project. It’s simple and inexpensive to make these cleats.
- One-by-four
- Two-by-four
- 1 5/8-inch drywall screws
- 3-inch drywall screws
For this project, let’s assume you have three recycling bins, one each for aluminum, plastic and paper. We’re also estimating the bins are 20 inches wide.
- For each bin, cut 18-inch lengths of one-by-fours and two-by-fours.
- Assemble the cleats by offsetting three one-by-four lengths about 1 1/2 inches from the edge of three two-by-fours and screw them together using the smaller screws.
- Start at the bottom of the column by placing a two-by-four and fasten it to the wall with 3-inch screws.
- CheckPlace a bin on top of the two-by-four, then the cleat over the top of the bin, as it will be used in the same manner.
- CheckAdd a quarter-inch to the height of the cleat while you’re holding it in place and mark that spot.
- CheckFasten the cleat to the wall flush with the mark. The extra quarter-inch will make it easier to slide the bin in and out.
- CheckPlace the bottom two-by-four of the next bin a few inches above the cleat and repeat.
You may be tempted to leave more room between bins, but consider your own height and how high the top bin will be first. Be sure to put your lightest loads in the top bin and the heaviest in the bottom.
Build a Fishing Rod Rack
Anglers need a place to store rods without tangling. For a quick and inexpensive holder that takes little horizontal space, follow these directions. You will need:
- PVC pipe 3 inches in diameter
- Foam swimming noodle
- Two fender washers
This holder looks and works much like a rack for holding pool cues. The pipe holds the bottom of the fishing rods, and the noodle holds the tops inserted through slits. Start by drilling 1-inch holes every 4 inches in the pipe, then slice along the foam in 4-inch increments.
To mount the noodle, align two of the slits with studs, then place a fender washer in each slit and screw it to the wall. Mount the PVC pipe to the wall about three feet beneath the noodle and slip in your rods for tangle-free storage.
Tennis Racquet Anyone?
For a clever way to make old tennis racquets useful again, drill a hole through the handle and fasten it to the underside of your workbench.
Give it room to swing out and back and you’ve got a ready-made shelf for tools, glues and other items you want to keep handy while you’re working on a project above.
When you’re done, swing it back underneath out of the way.
Put the Ceiling to Work for You

Here’s a great idea for using that part of the garage that doesn’t get used much otherwise, the ceiling. These ceiling tracks will work for lightweight and moderate-weight bins. You will need:
- 2-inch screws
- 3 1/2-inch screws
- Two-by-twos long enough to hold the lengths of your bins. For two 24-inch bins, you need about 49 inches.
- CheckOne-by-fours that are the same length as the two-by-twos, 49 inches
The number of bins you want to mount and the amount of space you have will determine the amount of wood to use.
Keep in mind that each track has two usable sides, so you can mount two bins side-by-side using three tracks because the bins share the middle track.
- Let the top of the bins guide your placement of the two-by-twos, spacing them just far enough apart that the lids brush against them.
- Fasten the two-by-twos to the ceiling joists using 3 1/2-inch screws every two feet, or as wide as the joists.
- Center the one-by-fours on the two-by-twos and fasten together using 2-inch screws.
- CheckSlide the bins into place between the two, leaving the body of the bin to hang down.
To find what you need without a lot of work, make labels with large lettering listing the contents. Tape them to the bottom of each bin to easily locate its items.
Build a Better Ball Cage
If you’ve got kids, you’ve probably got at least a few balls lying around for soccer, basketball, volleyball or exercise. With this cage, you can see and remove the balls you want without removing them all.
- Three-fourth-inch plywood
- Two-by-twos
- Elastic cord
You can make this cage easily, but it helps to picture it in your head first: There are no front or back panels, and no real top, just rails.
The back will be mounted to the wall, and the front will have elastic cords running vertically between the bottom board. The rail at the top will form a simple net holding the balls inside.
- Cut plywood into two 12-inch-by-33-inch pieces for the sides and one 12-inch-by-24-inch piece for the bottom.
- Cut two-by-twos into two 24-inch lengths to serve as rails at the top, running between the two side pieces at the top and adding reinforcement.
- Drill holes slightly larger than the cord diameter through the bottom piece along the front edge and also through one of the two-by-twos, about 4 inches apart.
- CheckThread lengths of the cord between the aligning holes on the bottom and the top rail and knot at each end.
Get more use out of the cage by adding plumbing hooks to the outside. Use them to hang bike helmets and other gear or hold short gutter troughs for tennis balls and dog toys.
Corral Long-Handled Tools
Rakes, shovels, skis, tennis rackets and more are likely propped against all the walls in your garage, where they are stumbled over and around regularly.
Here are a few ideas for corralling those long-handled tools.
- Storage tubes: Concrete-forming tubes made of cardboard are available at most home improvement centers for less than $10. Keep them dry by placing them on top of two-by-fours and secure the tubes to a stud using a plumbing strap.
- Wall tool holder: Use two half-inch plywood pieces, cut into 16-inch-by-16-inch squares. Fasten to the wall studs at a slightly upward angle, then slide tools on sideways, perpendicular to the wall.
If you need something to hold heavier tools, such as pickaxes and sledgehammers, or just more of them, try this rack instead.
It’s simple to make in just a few hours and can hold up to 14 items easily.
Here’s what you need to get started:
- Four eye hooks
- 1 pound of 2-inch drywall nails
- 1 pound of 3-inch drywall nails
- CheckOne piece of three-fourth-inch plywood, cut to 16 inches by 48 inches
- CheckOne two-by-six cut to a length of 48 inches
- CheckFive two-by-sixes cut to 12 inches
- Check6 3/8-inch by 4 ½-inch lag screws
- Check6 3/8-inch washers
Pre-cut wood to sizes noted above on materials list, then cut out slots for handles in the large plywood piece. This is the top of the tool ledge. You can change the spacing suggestions we’ve made to suit your needs.
Be sure to cut slots to a width that accommodates the widest part of the handle, which is typically where it meets the blade. For the curve at the top of the slot, you can trace the curve of a spray can.
- Attach the two-by-six piece of board to the back of plywood edge with 2-inch screws. This piece holds the supports beneath the slotted ledge.
- Use 3-inch screws to fasten each two-by-six support to the bottom of the slotted ledge board, flush with supporting two-by-six.
- Turn the rack over and secure the plywood to the supports using the 2-inch screws.
- CheckTurn the rack upright and use lag screws with washers to fasten the rack to the garage’s wall studs at a height of about 6 feet. You can pre-drill holes for screws with a five-sixteenth-inch bit.
It is important to use all the lag screws recommended because you need the reinforcement to hold the weight of the rack and all the tools you’ll add.
Place tools that get limited use in first so they will be at the back of the slots, with more commonly used tools at the front of the slots. If you have young children, you can prevent injuries by securing the end of each slot with an eye-hook and slot.
Make Your Own Chair Brackets
Need someplace to hang lawn chairs when summer’s over? Make some quick brackets out of one-by-four leftovers. Here’s how to do it: Cut two pieces 7 ¾-inch in length with a 30-degree angle on each end (angles aligning the same way).
Align them directly across from each other and fasten each piece to the side of an exposed wall stud with three 2-inch screws. With the down-slant, chairs and whatever else you want to hang have no chance of sliding off.
Stack Bins for Easy Access
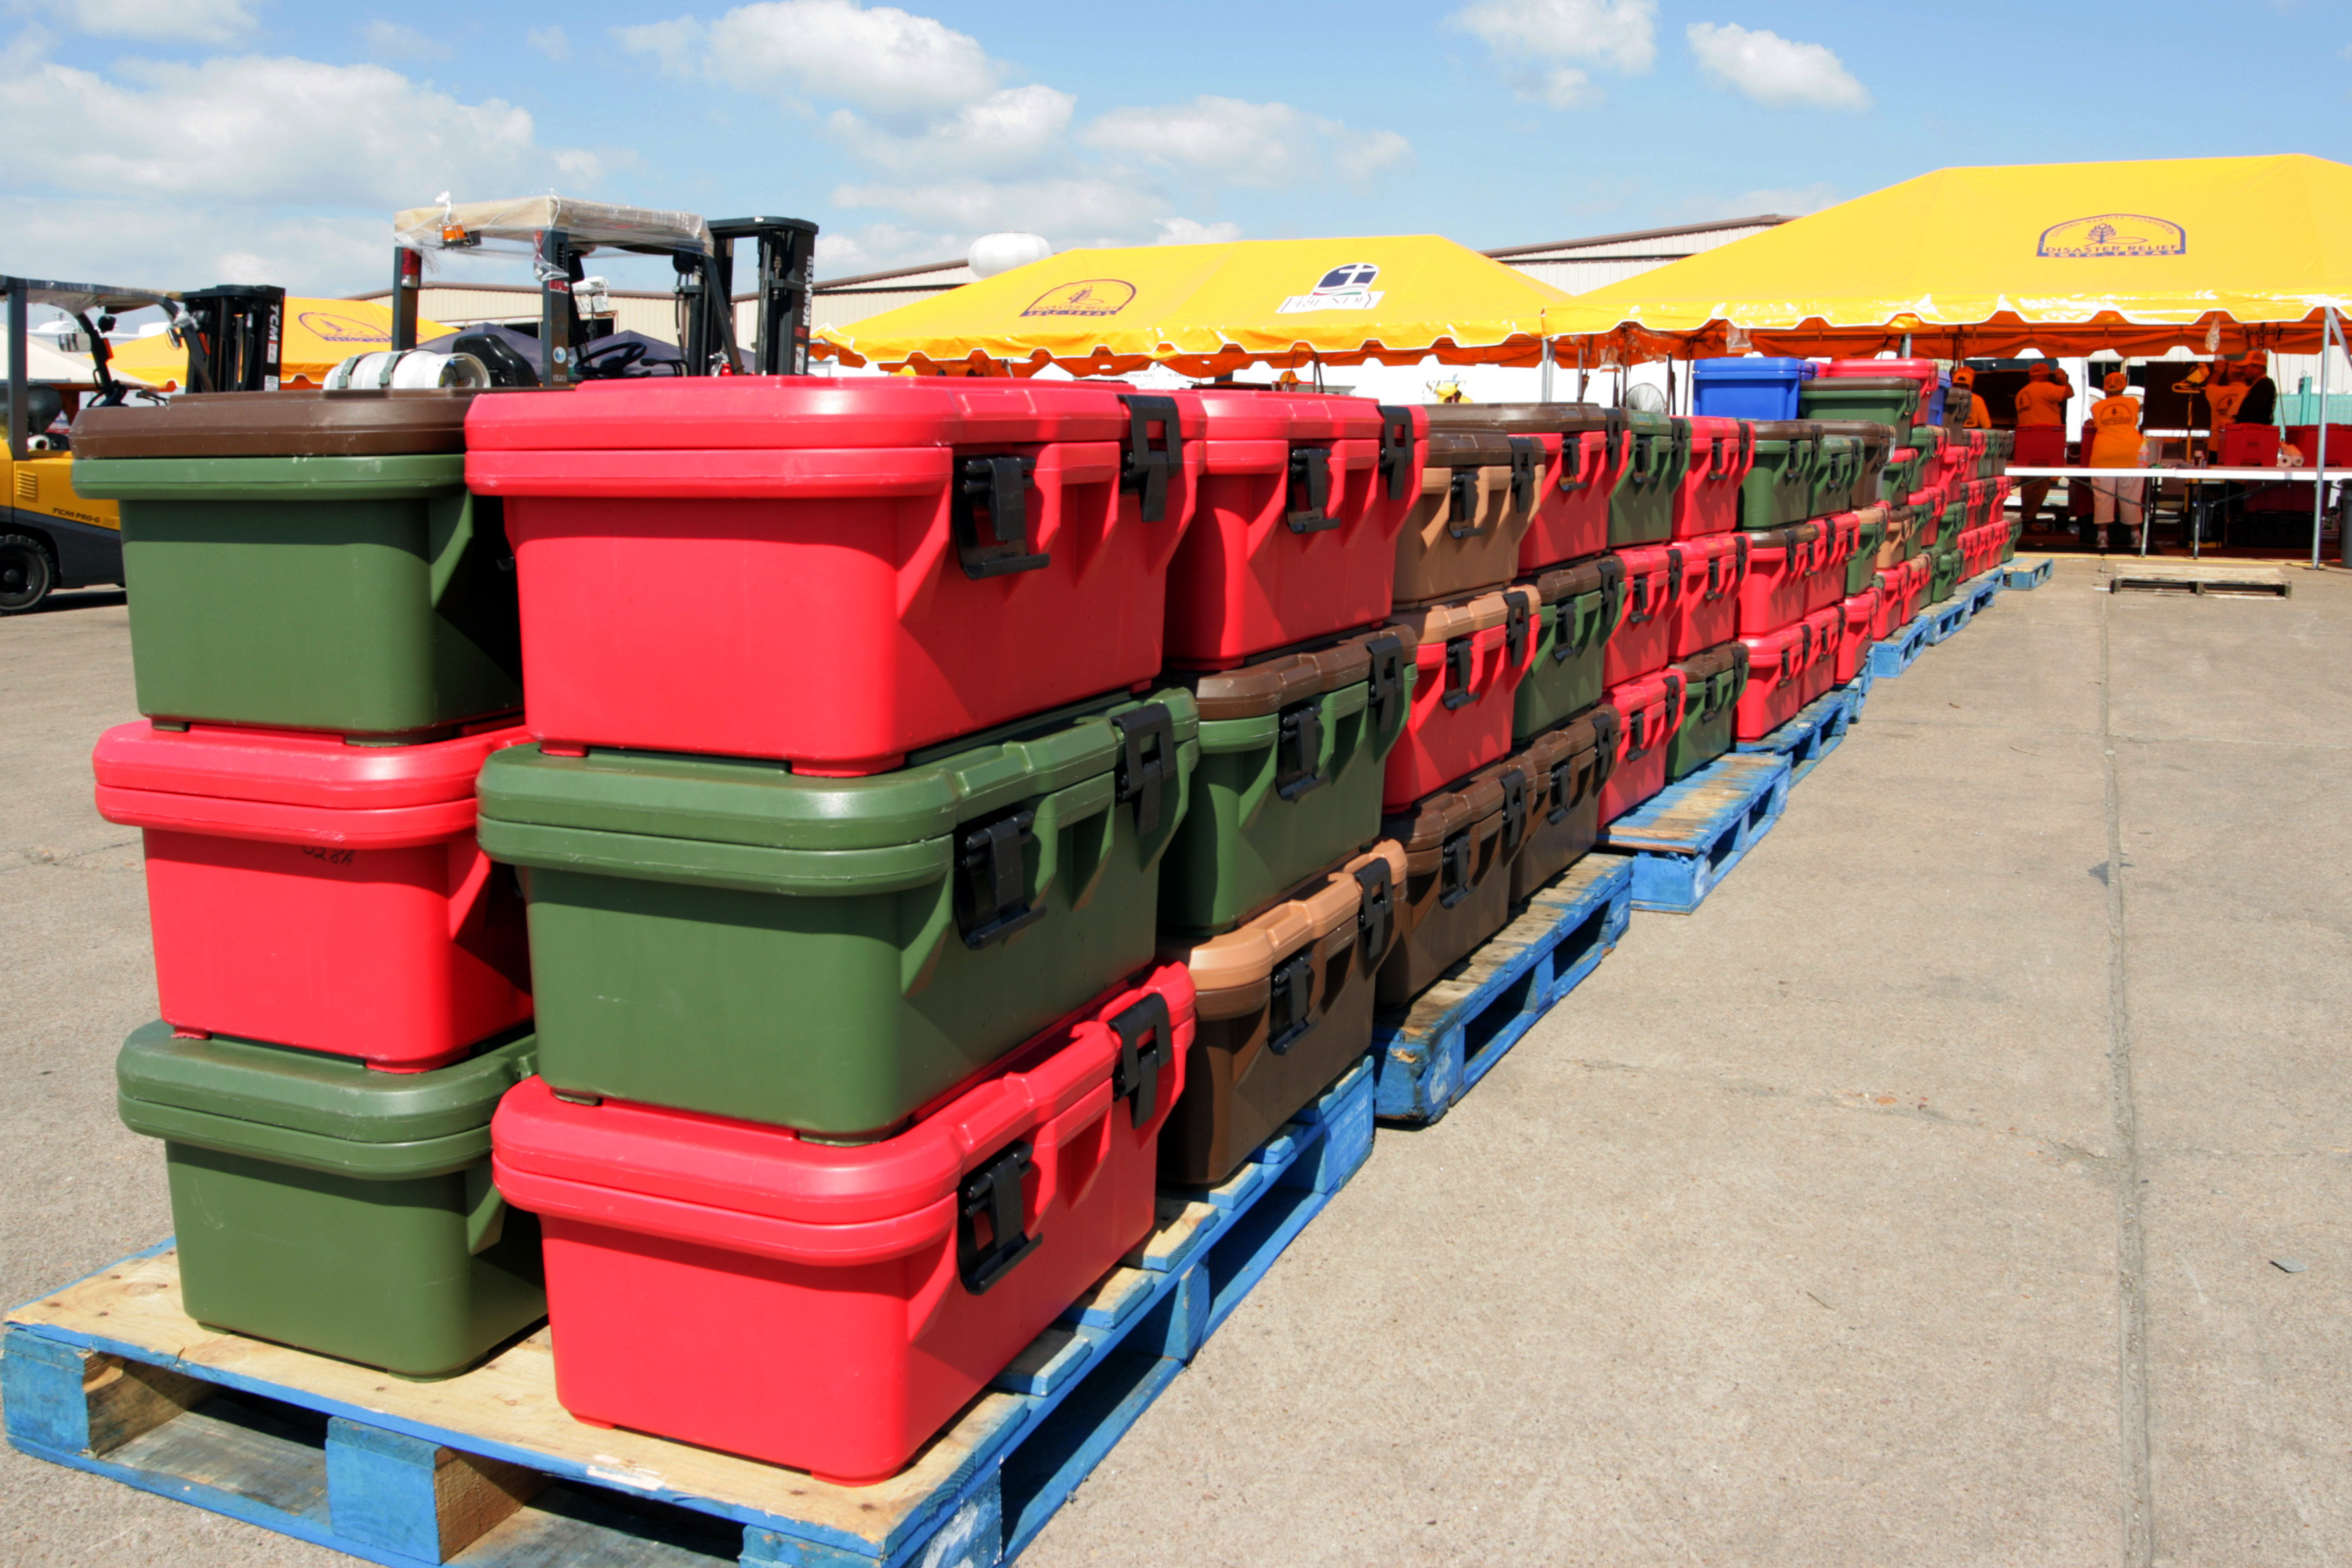
Storage bins are popular because they’re easy to use and sturdy enough to stand up to whatever is stacked on top. Unfortunately, getting to anything that’s not on top of the stack is tough, especially if you don’t have a lot of room.
For a solution that doesn’t take up much more space than the bins, you’ll need to invest a little in some plywood to build some easy shelf towers. This project holds bins of 16-18 gallons, with lids measuring about 18 inches by 24 inches. For one tower, you will need:
- Two 4-foot-by-8-foot-by-3/4-inch sheets of plywood for the sides
- One one-fourth-inch plywood for the back: Have the store cut it to a width of 18 inches.
If you want to paint the tower, you can use “A” grade plywood, but a lower grade works fine otherwise. Paint or stain after cutting the wood, then assemble following these steps:
- Set the three-fourth-inch plywood aside until needed.
- Rip other plywood sheets to 23.75 inches and leave two sheets for the sides of the tower.
- Cut remaining two sheets into 18-inch lengths for the top, bottom and shelves.
- CheckUsing brads or screws, attach shelves to the sides at 18 1/2-inch increments.
- CheckInstall three 2-inch trim head screws or two brads into each shelf.
- CheckUse 1-inch brads every 8 inches to attach the back, beginning at the top.
- CheckNail shorter side first, then longer side, aligning edges as you work.
- CheckReinforce with a 2-inch trim head screw in the middle of each shelf, then five more on each side.
Because garage floors often slope to the overhead door, you may need to use shims beneath the unit to make it sit straight and snug against the wall. Once it is, use 2-inch screws to mount the tower along wall studs in your garage
Use Versatile Hooks
To make use of space under the garage doors, buy some J-style hooks and place them on the garage door track. The hooks are large enough to hold a ladder, lawn tools or even spare two-by-four pieces of lumber.
Versatile, rubber-coated garage hooks in different shapes, sizes and lengths can be screwed on to wall studs, ceiling beams, and even rafter to hold bikes, tools and more. Pay attention to the load limit for each hook and don’t overload them or you could get hurt.
Index Your Bins
Storage bins are a great storage solution, and if you have trouble remembering what’s inside, labels are a great idea. But what happens when the bins are out of reach or stacked randomly around the garage? A bin index system offers an easy solution. Start by using simple tags with large numbers that are easy to see from a distance.
Then create a numbered index list noting the contents of each bin and put the list in a plastic sleeve inside a small binder that you keep near or with the bins. You can easily add and subtract items from the list and move items around when consolidating bins. An office supply store has clear, adhesive pouches that can hold index cards for your numbered ID tags on each bin.
Pegboard Is Endlessly Useful as Garage Hacks
No matter how much space you have, or don’t have, pegboard can give you many options for using it. Hooks, brackets, shelves and more can be configured and reconfigured as your needs change. To create pegboard walls with endless possibilities, follow these simple and easy steps.
Attach lengths of one-by-threes horizontally, running across your frame or wall studs. Place one at the top and bottom of your pegboard wall space, then every 16-24 inches between. Fasten quarter-inch pegboard to strips using washer-head screws. The strips are needed for support of large items, such as bikes, that you want to hang, as well as for overall support of the panel.
Most home centers have hardwood pegboard, but there are a few additional options, which we’ve included here. These all have quarter-inch holes.
- Plastic: Tough enough to rival hardboard, plastic pegboard has center ribs for added strength. Several versions in plastic feature slide-in connectors to join panels for ease of use.
- Metal strip: When you just want a simple fix or lack room for bigger panels, a small metal strip offers a sturdy alternative. Use hooks with the strip to hang tools and long-handled items.
- Metal panel: Get a chic, industrial look with L-shaped flanges on the edge when you choose metal pegboard. Metal panels are typically 16-inch or 24-inch squares. They look cool and hold up well.
Getting squared away in the garage is different for everyone because we all have different needs. With some of these simple and cheap garage hacks, you have many options for organizing space without investing a lot of time. You could soon be using your garage space for its original intention, storing your cars, as well as for storage.