Your headlights are one of the most important features of your vehicle. When functioning properly, your headlights allow you to see the road ahead at night and warn you of unexpected turns or obstructions in your path, such as debris, potholes or even animals.
In addition to keeping you aware of what’s in front of you, headlights alert other drivers to your presence. Dirty headlights can significantly reduce visibility when driving in dark or stormy conditions, and this becomes a hazard when left unaddressed.
Headlight restoration can be expensive, so we took an in-depth look at one of the many products on the market to offer you a solution to this dangerous problem. In this 3M Headlight Restoration Kit review, we’ll show you the benefits of doing it yourself, as well as what to look for when purchasing a kit, and how 3M’s product measures up to those criteria.
3M Headlight Restoration Kit Review
No products found.
PROS
- Works like a charm
- Make headlights bright and super clear
- Affordable
CONS
- Lots of work to do
- Will require additional equipment for best result
Why Do-It-Yourself?
Professional headlight restoration can cost anywhere from $75 up to $150. While foggy headlights impact visibility, they do still function without restoration, and many drivers opt to leave the problem unattended entirely to avoid this expensive bill.
Ignoring the problem ultimately leads to a worsening problem as visibility continues to deteriorate over time. Doing it yourself allows you to increase the safety of your vehicle at a fraction of the cost.
Completing this repair yourself is also more convenient. Rather than scheduling a visit to your local auto shop during their operating hours, you’re able to purchase a kit online and tackle the restoration whenever you have the time. This kind of convenience makes doing it yourself an appealing option.
What Determines a Good Restoration Kit?
Some at-home remedies for headlight restoration include white vinegar or toothpaste, but rubbing these substances on headlights is only a quick fix. Thorough restoration will require sanding, polishing and applying a sealant to keep the headlights looking clear as long as possible. We considered several important factors in preparing this review:
- Price
- Tools required
- Number of steps
- checkImpact of restoration
- checkHow long the restoration lasts
The best headlight restoration kit will offer a balance of all of these criteria, but as a consumer, you should determine what is most important to you in terms of your budget, how comfortable you feel with the steps involved and how often you want to perform a restoration. With these in mind, we’ll see how the 3M Headlight Restoration Kit holds up against all the rest.
Price
You won’t see too big a difference in price when comparing several restoration kits on the market. There are options under $10 available, as well as some in the $20-$30 range. This price range does not necessarily reflect the quality of the product, but rather what’s included in your kit.
What you’ll want to look for is how many headlights you can restore using your kit, as some of the more expensive kits include enough product for four headlights, or two total restorations.
If you’re planning to restore headlights on two cars at the same time, this could be a good way of saving some money, but if you’re only restoring one set of headlights, leftover product may get misplaced, leaving you to buy a new kit down the road anyway.
The 3M restoration kit is $14.99 on Amazon, and while the kit was designed for a 2-headlight restoration job, many users attest that you can make the product last for 3-4 headlights, depending on how foggy they were initially. Sylvania has a similar product around the same price point, but buyers of that product insist you’ll use the entire kit for two headlights.
While quantity seems to reflect the biggest difference in price, you should still factor in quality when considering some of the cheaper kits. Turtle Wax manufactures a kit for around $7, but the effects were shown not to last very long.
Tools Required
Some kits require a power sander for the crucial step of removing the buildup on the headlight lens. This tool may make the job less labor intensive and perhaps do a more thorough job, but if you don’t own a power sander or you don’t feel comfortable using one, you’ll want to check the package carefully before you make a purchase, so you know exactly what you’ll need.
A nice feature of the 3M restoration kit is its flexibility. While it includes sandpaper discs that can attach to an electric sander, instructions allow for sanding by hand as well. Users of the product who did the sanding by hand shared similar results to those who used a power sander. Inexpensive kits may require you to provide your own sandpaper, or else they include scant materials that aren’t sufficient for the job, resulting in the use of your own sandpaper anyway.
In addition to sandpaper, you may have to use your own polishing cloths if you purchase a 3M kit. If you have these in abundance, then it’s not really an issue, but the similarly-priced Sylvania kit includes a soft cloth for final polishing if you like this extra convenience.
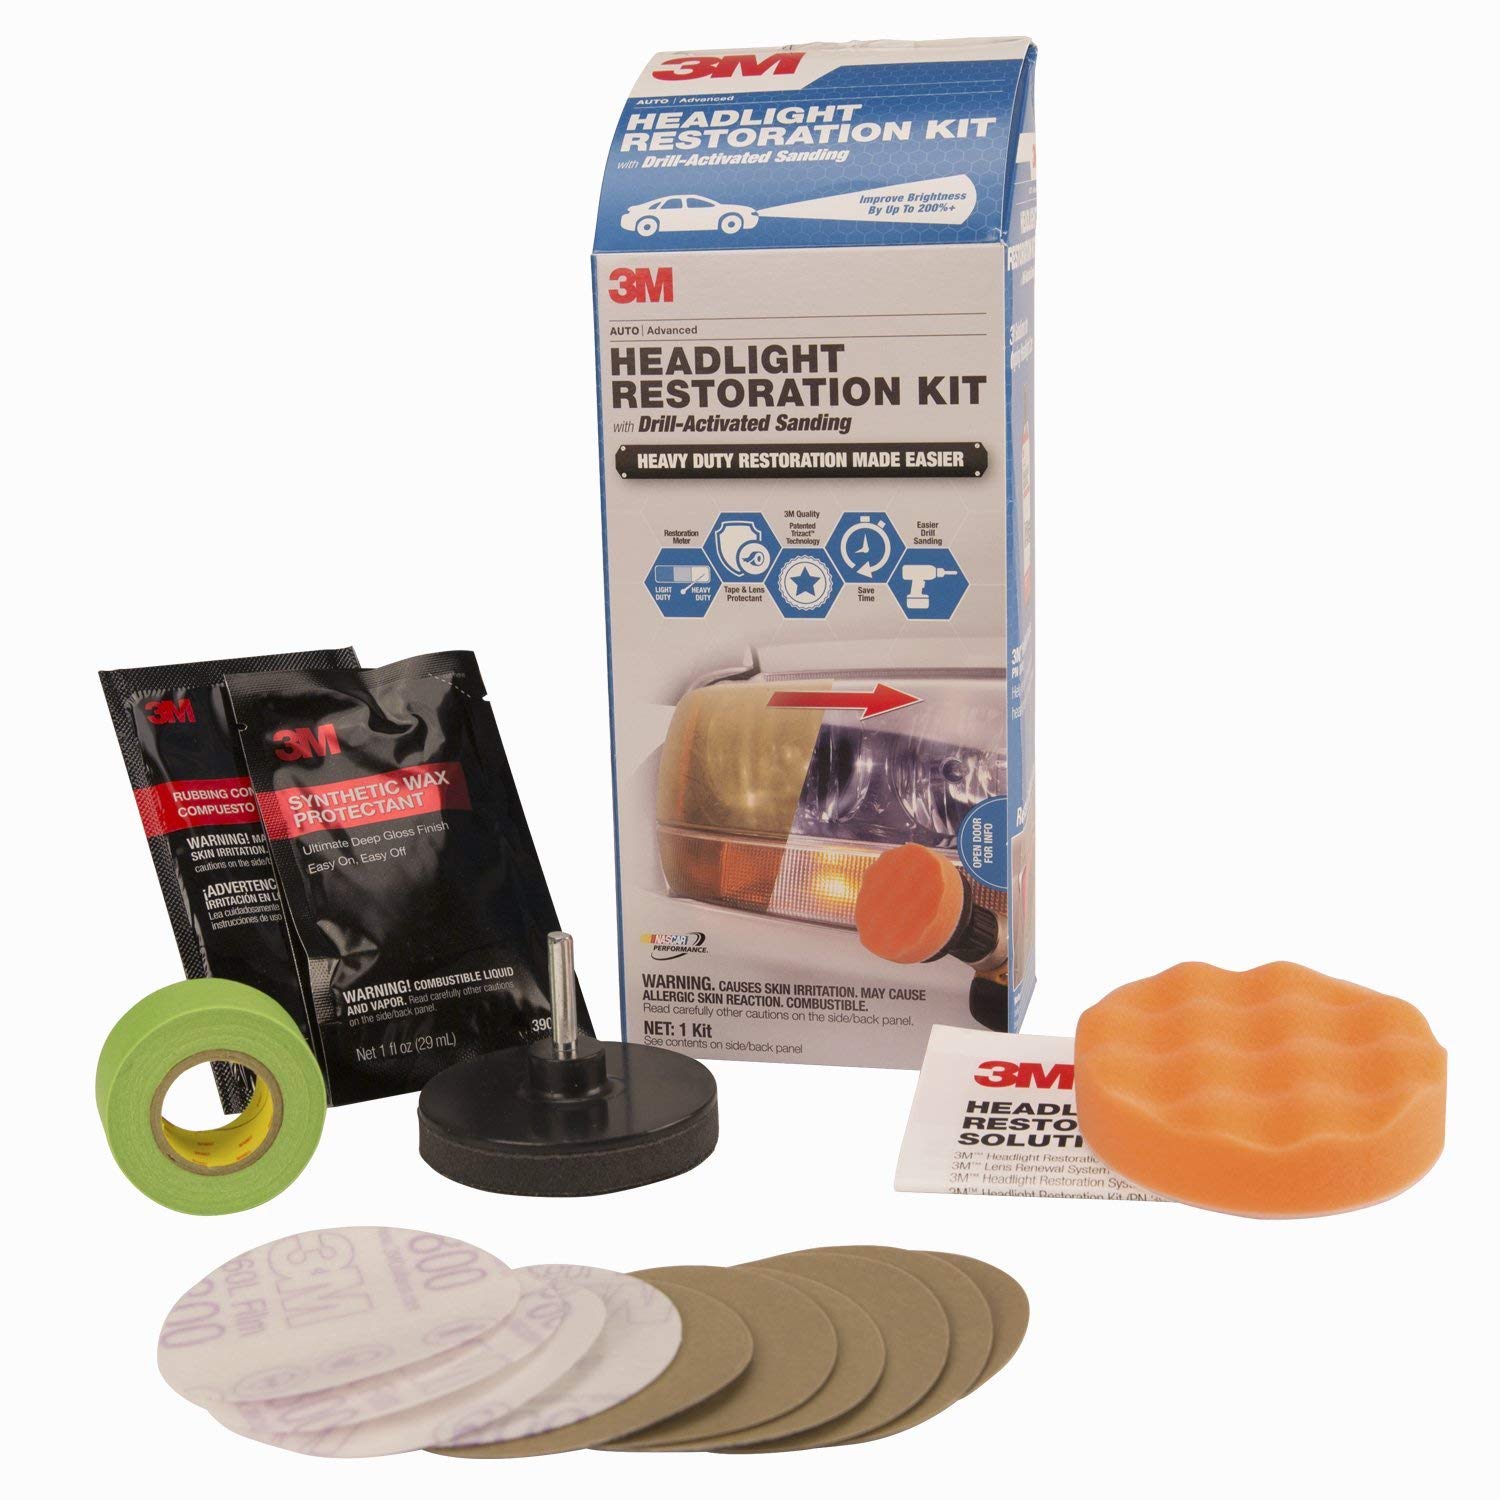
What Makes The 3M Headlight Restoration Kit Unique?
The Process
The 3M restoration kit includes a 4-step process. The first step is taping off the area around the headlight to protect the surface of your car. Then, you’ll use a sandpaper material to remove dirt and film, followed by the application of a compound. The final step is rubbing on a wax protectant. All told, this restoration process should take you less than an hour.
Because this kit allows for both power sanding and manual sanding, the first step of taping off the car may not be necessary. When sanding by hand, you’ll have more control over your movements, so you can probably skip step one and go right to step two if you don’t plan on using a power sander.
Other kits on the market require only two steps, while some can go as high as six steps. The number of steps reflects the amount of time you’ll spend on the process, but reviews show that a higher number of steps does not necessarily equate to better results.
Impact of Restoration
Many consumers who used the 3M product reported positive results, but the consensus is that patience is required to do the job effectively.
If you read the instructions carefully and give the restoration the time and elbow grease it requires, you’ll likely end up with a clear, polished headlight by the end. Before and after photos shared by customers show significant improvement overall.
Paying slightly more for the 3M headlight restoration kit seems to be worth it, as some of the less expensive brands, like Fast Brite, resulted in significantly less light filtration when compared to more costly options. When completed carefully and correctly, 3M should get the job done.
How Long the Restoration Lasts
While the immediate results put out by the 3M kit are positive, the kit’s lack of a final sealant reduces long-lasting effects.
Consumers reported that they bought a sealant separately to protect their hard work, which is not something every user would think to do since it’s not an included step of the process. It may be necessary to repeat the treatment sooner than you might with kits that do include a sealant.
One of the least expensive products on the market is manufactured by Turtle Wax, which produces effective immediate results as well, but fogginess will return after a relatively short period of time.
On 3M Headlight Restoration Kit Review, 3M’s restoration seems to last longer than its cheaper competitor, but if you want to lengthen the life of your restoration, purchasing an additional sealant is a wise decision. An 8-ounce container of headlight sealant costs around $8 but will last you for several restoration treatments on multiple vehicles.
Final Thoughts
As far as restoration kits go, 3M produces a high-quality one compared to other brands. Its 4-step process is simple and not terribly time-consuming, allowing you the flexibility to complete the sanding step by hand without a power sander. Results are like night and day, and you can maximize the impact of the restoration by simply purchasing an additional sealant for less than $10.
It’s not difficult to find a less expensive kit from other brands, but the price difference is not significant enough to reflect the impact on quality. By spending a few extra dollars on a 3M kit, you’ll ensure that the time you’re spending to do the work is worth the outcome.
If your headlights are only mildly cloudy, you also might be able to stretch the product to do two vehicles, which makes up for any additional cost.
Ultimately, we rate this product high despite its apparent limitations. In general, a restoration kit does a more thorough job than popular at-home remedies that merely wipe the surface, and professional headlight restoration treatments can get quite pricey without the convenience of working around your own schedule.
The 3M headlight restoration kit review offers a good in-between to these two options that gets you the results you want with a price tag you can afford.
Last update on 2023-04-15 at 07:41 / Affiliate links / Images from Amazon Product Advertising API