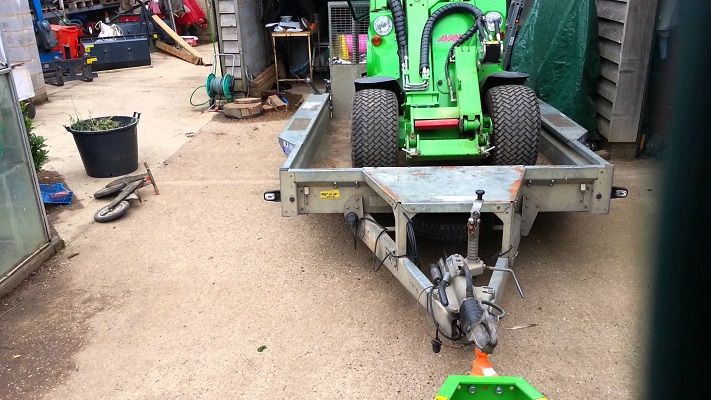
Wheel loaders are connected to a vehicle with a large scoop in the front, which is used to dig and load of mud and other loose materials. These vehicles are extremely powerful and can even be used for transportation of equipment around, such as trailers or other parts of the excavating equipment. You will need to install a trailer ball into a bucket on the back of the front loader. Install trailer ball is a simple procedure, but it must be done carefully and correctly to ensure that your truck transports the car.
Instructions
- Look around the edges of your bucket to find a suitable location for your installation hitch ball. A suitable position is the one that allows you to tow your load in front of you in plain sight. The situation in the front of the bucket usually works best.
- Grease the area where you intend to install the device. You will Drilling in metal, which is very rough on your drill. Grease will make drilling go more smoothly and easily for your drill.
- Apply a small drill, such as 1/8-inch bit and drill a hole in the bucket in place. Use both hands to keep your drill resistant. There is someone, apply Greece as you drill. Once you’re through, drill with a bit. To continue the expansion of the hole until it is wide enough to fit your ball and hitch.
- Insert the ball into the hole with the ball up. Use your screws and washers that hold it in place. The size of the screws and washers, will depend on the size of the hitch ball. Great balls should have more screws and washers.
- Check your device balloons force, grabbing his hand and pulling. If it does not, attach a piece of equipment to the device and drag it with the front loader. There is someone to watch hitch ball to move. Make the necessary adjustments.
Installation of the new trailer hitch
Although about 95% of all trailer hitches are made to fit your car, truck, van or SUV with no changes or drilling- trucks and older vehicles may need a little ‘drilling and or modifications. When it’s time to install the new trailer hitch, no matter what class hitch you are installing, always remember to use hardware (nuts, bolts, washers, shims, etc.) provided by the hitch manufacturer. This is vital to the strength and the proper use hitch on your vehicle.
The hitch manufacturer will list the tools needed in the instructions. The best way to begin the installation is to get the hook into place. The holes for the positioning of the bolt closer to the rear of the vehicle are usually the best place to start. The work from side to side for hole – do not bolt all the screws from one side, then to the other side. Only tighten until all bolts, washers, nuts, shims, etc., are in place. Center the hitch and tighten the bolts from side to side. While this is a very simple guide to install the trailer hitch, always follow the manufacturer’s instructions to ensure the hitch is installed safely and correctly.