
No products found.
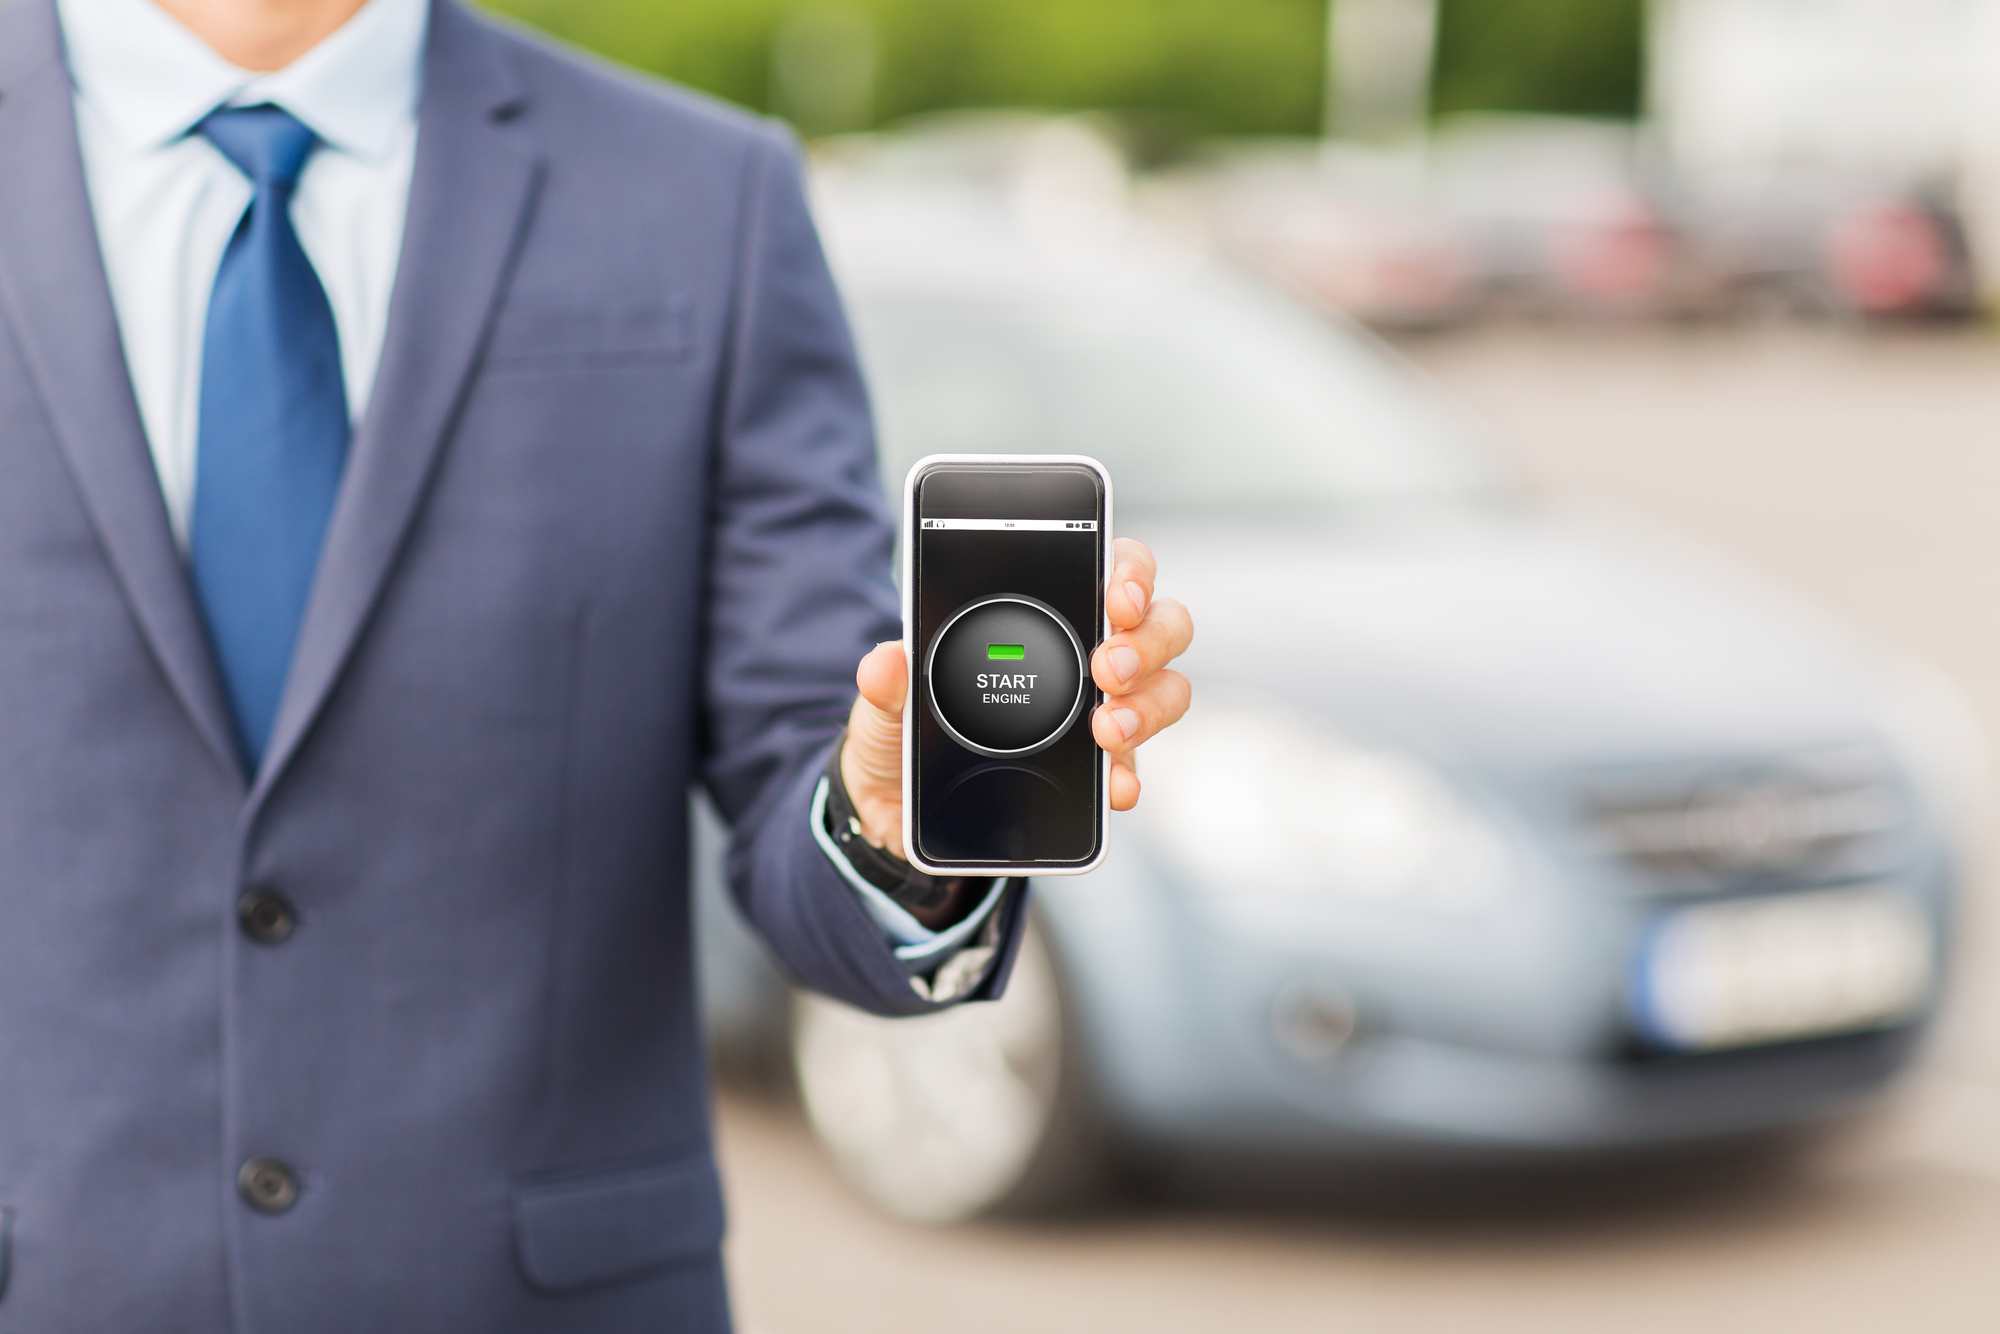
Anyone who has ever sat down in a hot leather seat while wearing shorts, or felt the unkind sting of ice-cold temperatures while shivering uncontrollably, understands the benefits of having a car that starts remotely. Remote car starting technology removes the need to sit in borderline unbearable conditions while waiting for a vehicle to reach an acceptable temperature. The benefits speak for themselves, but what is less apparent is the process of installing this technology. If you want to save cash and you have some familiarity working with electrical wiring, here are some steps to help you install remote car starter on your own.
Buying the Product to Install Remote Car Starter
Image: CC0 Creative Commons, StockSnap, via Pixabay
Before you install a remote car starter, you must find a unit and buy it. There are many options out there on the market. Whichever remote starter you choose, there are a few points to keep in mind.
Compatibility
You need to make sure the product you choose will work with the make and model of your car. The packaging of the starter should have this information. It’s also a good idea to confirm it will work with your security system if you have one. Otherwise, you will need to buy costly additional parts to work around your anti-theft system.
Power
Many buyers do not think of this until after they have purchased the product, but you want to make sure you install remote car starter operates at a distance that is acceptable to you. For instance, if you’re going to start your car from inside your home, you’ll want to make sure its range will reach that far. You also need to keep in mind the interference you expect the starter to encounter, such as walls, buildings, etc. To assess whether a starter will work for your purposes, look at transmitter power. This can be more helpful than the distance range printed on the packaging. If you know there will be many obstacles between the remote and the car, opt for a higher power regardless of whether you will be using it at a short distance. Keep in mind all the places you will want to use this feature, such as restaurants, sporting events, hospitals, etc. Sales personnel can be helpful when assessing the power level that is right for you. If in doubt, opt for more power.
Quality
The least expensive option is usually not the best. Once you find some options that work with your specific car and have the power needed, compare the different brands for quality. Be sure to do some research and read reviews. If shopping locally, aim for the best shop in your area, as they will probably have the best products.
Features to Install Remote Car Starter
Take a look at the options for different functions. While some starters start the car, others will have a range of extra capabilities, such as rear window defrost, trunk release, warming seats, and others. If you live in a cold climate, the rear window defrost is something to consider. In most vehicles, merely starting the car will not begin the rear window defrost system, even if it was on when the car was shut off. Another huge feature to consider is a keyless entry. Many standard keyless entries will not work while the vehicle is running for security reasons. The most seamless solution is getting a remote starter that integrates keyless entry.
Instructions: Install Remote Car Starter
If you are self-installing, one of the key factors to decide in your purchase is the quality of instructions with the unit. Take extra precautions if buying a used part that does not have its original packaging. In such a case, it’s important to verify before purchasing that you can find the appropriate instructions online. Regardless of which model you are buying and whether it’s new or used, be sure you can access crystal clear directions on how to install remote car starter. It would also be a good idea to gather and review the owner’s manual for your vehicle as well as repair guides you can find. This will help familiarize you with the wiring that is specific to your car.
Gather Materials
There will be some tools needed to carry out the installation. Consulting the manuals and instructions in the prior step will help you figure out exactly what is required. It’s highly recommended to gather everything ahead of time rather than stopping during the process to find or buy something. Try to keep everything in the same space to avoid losing parts. There are few things as frustrating as figuring out what you need to do, then finding that your tool or material is missing when you reach for it. Common items that are necessary are wire strippers and cutters, wrenches, screwdrivers, and a soldering iron. A device such as a multimeter is helpful during the process for helping confirm you have identified the correct wires.
Location
After you’ve gathered all the necessary items, you’ll need to decide where to install a remote car starter the unit. You will not want to extend existing wiring, so it’s important to factor that into finding a spot. A popular area is underneath the steering wheel inside the dash. This is an area that is close to the ignition, is hidden, and is far away from the extreme heat of the engine. Some individuals choose the dashboard fuse box, glove compartment, or center console. Once you have done some research and examined your vehicle, you’ll be able to make a decision that is best for you.
Prepping the Vehicle
It’s necessary to carry out some preparation on the vehicle itself before diving into the installation. Make sure all the electrical systems are working properly before getting started. Otherwise, you may be unable to get the remote starter to work, and the installation will need to undone. Next, you’ll want to make sure you have room to work. Removing the seat where you’ll work often saves time in the long run, as it’s much quicker to work in an unobstructed area. If you’re unable to remove the seat, go ahead and slide it back as far as possible to give you more room. Finally, for safety, you’ll need to disconnect the battery. Of course, the battery will need to be connected when you are testing the wires. However, it should be a disconnect at all other times during the installation. It is dangerous to work directly with wiring when there is an electrical current running through the system.
Accessing the Wiring
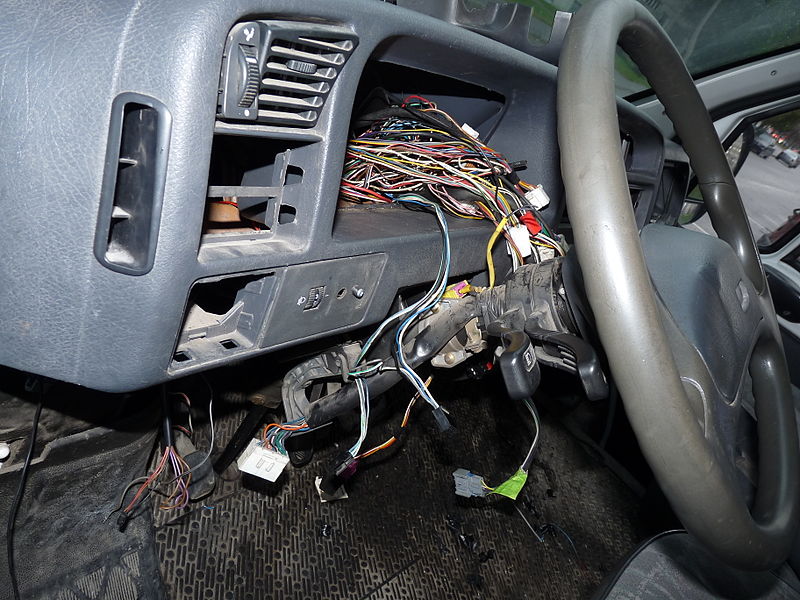
Image: Creative Commons Attribution-Share Alike 3.0, Dmitry G, via Wikimedia
Next, you will need to obtain the necessary wiring. This often involves removing paneling from inside the vehicle. How you will remove the paneling depends on your specific car. This can typically be accomplished with a screwdriver or socket set. You will need to access the ignition switch setup, which sometimes requires removing the lower steering column. Other features of the remote starter, such as unlocking capabilities, will determine what other areas you access. The specific areas you need to access will depend both on your car and the functions included with the remote starter.
Connecting the Wiring
Now that you have access to the wires you need, it is time to connect them all. This will entail stripping the first one-half inch or so of wire coating, soldering the attaching wires to the stripped wires, and securing the connections with electrical tape. The wires that will typically need to connect to the remote starter are the ground wire, the 12V constant wire, the accessory wire, the ignition wire, the starter wire, the parking and brake light wires, and the tachometer wire. In some cases, the car may have multiple wires in one category, and a relay will be needed to route them appropriately. The vehicle’s manual and repair guides will help with locating wires, which can confirm with a multimeter and knowledge of the voltage of the different wires. Depending on your remote starter’s capabilities, you may need to connect additional wires such as door locks, which will require interaction with the anti-theft system. Tug on all your connections to make sure they are secure, and use screws or tie wraps to keep them organized and away from moving components that may damage them.
Testing
Once everything is connected and secure, it’s time to test out the system. Test the remote starter to make sure it starts the car, as well as any other features it has such as unlocking the doors. You also need to test all the other wires that were connected, such as the brake lights, and make sure the car still drives and functions appropriately. If something is wrong, you will need to go back through your work to determine the problem. After everything has been tested and works, only then will you replace the paneling that has removed. Be sure all your wiring work is safely out of the way before securing the panels. With adequate guidance and tools, it is more than possible to install a remote car starter on your own. The process can be successful with proper preparation and safety precautions. The convenience of a remote starter and the money saved by avoiding the car shop are well worth the extra time and effort.
No products found.
Last update on 2023-04-15 at 07:41 / Affiliate links / Images from Amazon Product Advertising API